
Views: 0 Author: Site Editor Publish Time: 2026-10-14 Origin: Site


Discovering a cracked solar panel after a severe hail storm, debris impact, or sudden thermal stress creates an immediate operational headache. Facility managers and system owners often feel torn between attempting a quick patch job and scheduling a complete module swap. You might see power still flowing through the array and think the damage is just cosmetic. That is a dangerous assumption. Compromised glass introduces severe electrical safety hazards, moisture ingress, and rapid efficiency drops. A common mistake is treating the issue lightly. Attempting to clean the shattered surface or ignoring the fracture because the inverter still registers voltage can lead to catastrophic system failure. Touching the module while the system remains energized presents a lethal shock hazard. This guide provides a strict technical evaluation framework. We will help you objectively assess physical damage, understand the hidden risks of compromised encapsulation, and determine exactly when a module requires immediate replacement.
Safety Supersedes Output: Even if a cracked panel still produces power, compromised glass introduces severe risks of moisture ingress, ground faults, and electrical arcing.
Repair Limitations: Surface-level DIY repairs (epoxies, clear coats) are temporary mitigations that rarely restore structural integrity, only temporarily slow deterioration, and almost universally void manufacturer warranties.
Replacement Economics: The labor and liability costs of attempting to salvage a severely damaged photovoltaic panel often outweigh the cost of procuring a new module.
Matching is Critical: Sourcing a replacement requires strict adherence to the original solar panel specification sheet to avoid string mismatch and system-wide performance degradation.
Cascading System Risks: Leaving a compromised panel in an active array can do more harm than good, potentially stressing bypass diodes and damaging expensive string inverters.
Not all glass damage impacts system performance equally. You need to classify the fracture to determine the immediate threat level. Superficial surface scratches might only slightly refract incoming light without breaching the encapsulation layer. However, micro-cracks present a much more insidious problem. These tiny fractures often remain invisible to the naked eye but severely disrupt electron flow across the silicon cells. Technicians typically detect micro-cracks using electroluminescence (EL) imaging during formal diagnostics.
On the extreme end of the spectrum lies shattered tempered glass. This damage manifests as a distinct spider-web pattern across the entire module face. When tempered glass shatters, the structural integrity of the module drops to zero. The internal circuitry loses all environmental protection. We classify damage into three distinct tiers in the field.
Damage Tier | Visual Indicators | Immediate Action Required |
|---|---|---|
Tier 1: Surface Scratches | Light abrasions, no deep grooves, glass remains intact. | Monitor during routine maintenance. No immediate action needed. |
Tier 2: Localized Cracks | Single or double fracture lines, no spider-webbing, cells not exposed. | Schedule diagnostic testing. Plan for near-term replacement. |
Tier 3: Shattered Glass | Full spider-web pattern, sagging glass, exposed internal components. | Isolate string immediately. Mandate emergency module swap. |
Inspecting a damaged photovoltaic panel requires strict adherence to safety protocols. You must look beyond the shattered glass to identify secondary damage caused by the initial impact. Follow a systematic approach when evaluating the hardware on the roof.
Examine the aluminum frame for dents or warping. A bent frame compromises the mounting hardware and alters the wind load rating.
Check the polymer backsheet for tears or punctures. A compromised backsheet allows moisture to enter from behind the cells, bypassing the glass entirely.
Inspect the weather seals around the edges of the frame. Impact stress often breaks the silicone seal between the glass and the aluminum.
Evaluate the junction box and wiring connections. Look for cracked plastic housings or pulled MC4 connectors.
Check the mounting clamps. Ensure the impact did not loosen the mid-clamps or end-clamps securing the module to the racking rail.
Never perform routine maintenance on a compromised module. System owners often attempt to clean a fractured array to assess the damage more clearly. Pressure washing or scrubbing a shattered surface forces water directly into the internal circuitry. This action accelerates cell corrosion and creates immediate shock hazards.
The water acts as a conductive bridge between the live cells and the grounded aluminum frame. Even wiping the glass with a damp cloth can push microscopic shards of tempered glass deeper into the ethylene vinyl acetate (EVA) layer. This destroys whatever intact silicon remains. Treat any shattered module as a live, uninsulated wire. Keep all liquids and cleaning brushes far away from the damaged zone.
Modern inverter monitoring portals provide the data necessary to isolate an underperforming string or module. By analyzing voltage drops and current anomalies, you can quantify the exact energy yield reduction caused by the fracture. Systems equipped with module-level power electronics (MLPE), such as microinverters or DC optimizers, make this process straightforward. The monitoring dashboard will flag the specific damaged unit with a distinct error code or a sharp drop in daily kilowatt-hour production.
For central string inverters, technicians must rely on IV curve tracing to pinpoint which string contains the compromised hardware. A sudden, unexplained drop in string voltage often indicates that bypass diodes have activated to route power around the damaged cells. Field technicians use specialized multimeters and irradiance meters to compare the expected output against the actual measured output at the combiner box.
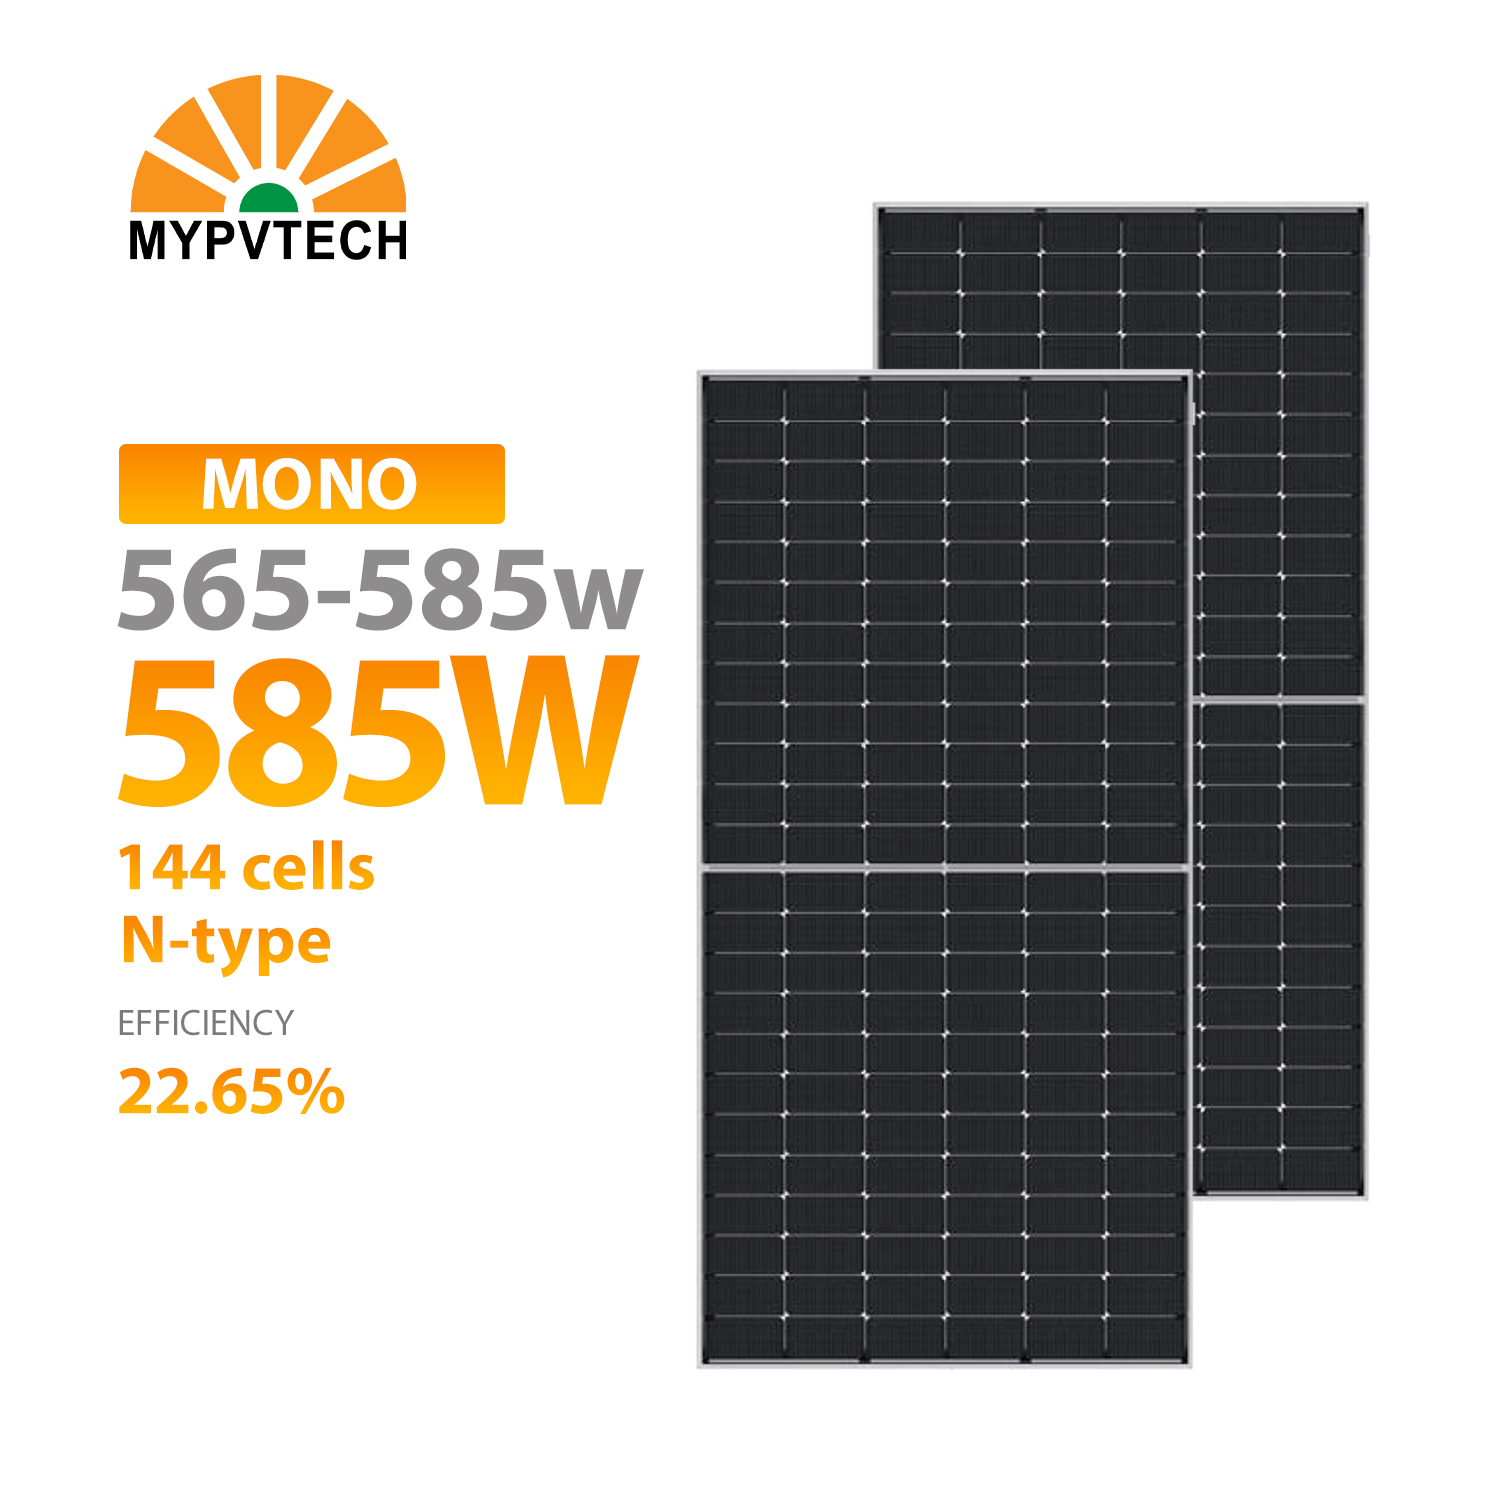
Tempered glass serves as the primary environmental barrier for any solar array. Manufacturers engineer this glass to withstand hail, wind loads, and extreme thermal cycling. Once this barrier breaches, the fragile silicon cells lose their defense against rain, humidity, and airborne debris. The encapsulation materials alone cannot withstand direct exposure to the elements.
Without the rigid protection of the glass, wind loads cause the silicon cells to flex and snap. This mechanical stress rapidly degrades the module's power output. The cells are incredibly thin and brittle. They rely entirely on the structural rigidity of the front glass and the aluminum frame to survive outdoor conditions. A shattered front pane means the cells are bearing mechanical loads they were never designed to handle.
Solar panel glass damage allows capillary action to draw water deep into the module. This moisture attacks the EVA layer that binds the glass, cells, and backsheet together. As water interacts with the EVA, it often triggers a chemical reaction that produces acetic acid. This acid rapidly corrodes the silver busbars and solder joints.
Moisture also causes delamination. The separation of these internal layers creates visible bubbling and leads to rapid, irreversible cell failure. You will often see a milky or cloudy discoloration spreading from the site of the crack. This indicates that the EVA has separated from the glass, allowing a pocket of humid air to form directly over the solar cells.
Exposed live circuitry presents severe safety risks. Moisture creates unintended conductive paths within the module. When water bridges the gap between a live cell and the grounded frame, it triggers a ground fault. The inverter will detect this leakage current and shut down the system, but the DC wiring on the roof remains energized as long as the sun is shining.
In high-voltage DC strings, these faults can easily result in electrical arcing. DC arcs sustain themselves continuously, generating immense heat. This heat can melt the aluminum frame, ignite the polymer backsheet, and ultimately cause catastrophic roof fires. A shattered module is not just a performance issue; it is a severe fire liability.
A fractured module forces its internal bypass diodes to work continuously. Manufacturers design these diodes to route power around shaded or dead cell strings temporarily. They are not engineered for constant, daily operation under full load. When a crack destroys a section of cells, the bypass diode remains active whenever the sun shines.
This continuous operation causes excessive heat buildup within the junction box. Eventually, the diode fails under the thermal stress. When a diode fails short, it permanently drops the voltage of that module. When it fails open, it can pull down the voltage of the entire string and damage expensive string inverters. One broken glass pane can easily trigger a chain reaction that takes down a 20-panel string.
Operating physically compromised hardware violates UL certification standards. Manufacturers explicitly state that physical damage voids the performance warranty. If you leave a shattered module in the array, you forfeit any future claims regarding degradation or output failure for that specific unit.
Operating damaged electrical equipment can also nullify insurance claims. If a ground fault from a cracked module causes a fire, insurance adjusters will investigate the root cause. They will likely deny the claim upon discovering that known damaged hardware was left active on the roof. Maintaining code compliance requires removing compromised electrical equipment from service immediately.
Internet forums frequently suggest applying polyurethane clear coats, windshield resins, or liquid encapsulants to fractured glass. These methods attempt to seal the surface against moisture and restore structural rigidity. Users often apply thick layers of epoxy over the spider-web cracks, hoping to prevent water ingress.
While these materials might adhere to the glass initially, they lack the specific optical clarity and UV resistance required for photovoltaic applications. The resins often yellow under direct sunlight, further reducing the module's energy yield. More importantly, they trap existing moisture inside the module, accelerating the corrosion of the silver busbars.
These aftermarket fixes are strictly temporary weatherproofing measures. They do not restore structural integrity. They only slow deterioration and buy a brief window of time before a full swap is required. Solar arrays undergo extreme thermal cycling every day. The module expands in the afternoon heat and contracts during the cool night.
The applied epoxies and resins possess different thermal expansion coefficients than the tempered glass. Within a few months, this thermal cycling breaks the superficial seals, allowing moisture to penetrate the module once again. You cannot permanently glue a shattered solar module back together and expect it to survive twenty years on a roof.
Utility-scale and commercial operators mandate strict replacement protocols rather than attempting glass repair. The liability of leaving compromised hardware active makes repair an unviable strategy for professional operations. Operations and Maintenance (O&M) teams understand that a failed repair leads to ground faults, which shut down entire inverter blocks.
The labor cost of sending a technician to apply resin, only to send them back months later for a full replacement, destroys operational efficiency. Professional operators always opt for immediate solar module replacement to guarantee system uptime. They remove the damaged unit, install a new one, and recycle the broken hardware.
Mandatory replacement is required when damage reaches a critical threshold. Spider-web shattering across the entire face indicates complete structural failure. If you can see exposed silicon cells, the module must be removed immediately. The glass can no longer support snow loads or resist wind uplift.
Frame deformation also dictates a full swap. A bent aluminum frame compromises the mounting clamps, increasing the risk that the module could tear loose during high winds. Any impact damage that compromises the physical mounting points or cracks the plastic housing of the junction box requires immediate hardware removal. Do not attempt to bend an aluminum frame back into shape.
The National Electrical Code (NEC) sets strict requirements regarding damaged electrical equipment. Leaving compromised hardware on a residential or commercial roof introduces significant liability and violates core safety regulations. NEC Article 690 governs solar photovoltaic systems, emphasizing the need for robust ground-fault protection and safe wiring methods.
Operating a shattered module with exposed live parts directly contradicts these safety mandates. Facility managers and homeowners bear the liability if this non-compliant hardware causes property damage or personal injury. Local electrical inspectors will fail any system that contains visibly shattered modules during routine inspections or property sales.
Replacing the module guarantees the expected lifespan of the surrounding array. A solar installation represents a decades-long investment. Leaving a faulty module in the string introduces a weak link that degrades overall performance. By executing a proper replacement, you protect the overall system return on investment.
You ensure consistent, safe energy production without the looming threat of sudden string failure or inverter damage caused by fluctuating voltages. A clean swap restores the array to its original engineered specifications. It eliminates the guesswork and constant monitoring required when trying to limp along with damaged hardware.
A certified technician executing a solar panel inspection and replacement follows rigorous steps. They do not simply unbolt the old hardware. The process includes megger testing to check the insulation resistance of the surrounding wiring. Technicians perform string voltage checks to ensure the rest of the array remains unaffected.
They verify the electrical integrity of adjacent panels, looking for micro-cracks that might have occurred during the initial impact. This comprehensive diagnostic approach ensures that the new module integrates safely into the existing system. They will also inspect the racking rails for gouges or bends caused by the same impact that shattered the glass.
Cross-referencing the solar panel specification sheet is mandatory when sourcing a replacement. You cannot simply match the physical dimensions or the brand name. You must match critical electrical characteristics to ensure the new hardware does not bottleneck the existing string. Pay close attention to the following metrics.
Electrical Characteristic | Why It Matters for Replacement |
|---|---|
Maximum Power Current (Imp) | In a series string, the lowest Imp dictates the current for the entire string. Match this closely. |
Maximum Power Voltage (Vmp) | Ensures the string voltage remains within the inverter's optimal operating window. |
Open Circuit Voltage (Voc) | Critical for cold-weather calculations to ensure you do not exceed the inverter's maximum input voltage. |
Short Circuit Current (Isc) | Must align with the existing wiring ampacity and overcurrent protection device ratings. |
Installing a replacement with a lower Imp will drag down the performance of every other module connected to it. If you cannot find an exact match, you must select a replacement with a slightly higher Imp and Vmp, allowing the inverter to regulate the flow without bottlenecking the older modules.
The replacement strategy shifts based on system architecture. Microinverters and DC optimizers offer flexibility. Because these devices manage power at the module level, you can often install a replacement module with a slightly higher wattage without negatively impacting the rest of the array. The optimizer simply adjusts the output to match the DC bus voltage.
Central string inverters require strict electrical matching. Without module-level power electronics, a mismatched replacement can cause severe clipping or pull down the voltage of the entire string. Understanding your specific inverter topology is mandatory before ordering replacement hardware. Always consult the inverter manufacturer's guidelines regarding module mismatch tolerances.
Selecting a reputable replacement solar panel supplier ensures a smooth integration process. The solar industry evolves rapidly, and manufacturers frequently discontinue older module sizes and wattages. Evaluate a vendor based on their ability to source these discontinued models.
A strong supplier can provide warranty-backed new-old-stock (NOS) or recommend electrically identical alternatives that meet current code requirements. They should understand the nuances of matching Vmp and Imp to prevent string degradation. Ask the supplier for the flash test data of the replacement module to verify its actual output matches the nameplate rating.
Attempting a repair carries hidden costs that quickly erase any perceived savings. System owners often purchase specialized UV-resistant sealants and spend hours applying them to the shattered glass. This labor is entirely wasted when the fix inevitably fails under thermal cycling.
Once moisture penetrates the failed resin, the owner must pay for a full replacement anyway. The initial repair attempt simply delays the inevitable while keeping a severe fire hazard active on the roof. You also waste valuable time monitoring the patched module, checking the inverter logs daily to see if the output has dropped again.
A single module swap involves multiple logistical factors. You must account for the physical hardware itself, which varies based on wattage and efficiency. Specialized labor for the truck roll constitutes a significant portion of the expense, as technicians must safely navigate the roof, isolate the string, and perform diagnostic testing.
Depending on local jurisdiction, the replacement might also require an updated electrical permit. While the upfront expense is noticeable, it represents the only secure method for restoring system safety. Factoring in the diagnostic time, the physical swap, and the disposal of the broken hardware provides a realistic view of the required investment.
Leaving a faulty module in the array results in long-term financial loss. The reduced system output directly impacts your energy savings. A shattered module producing half its rated power drags down the entire string, costing you kilowatt-hours every single day.
The high probability of damaging expensive string inverters through erratic voltage fluctuations far outweighs the initial expense of swapping the hardware. Prompt replacement protects the broader financial investment of the entire solar installation. You eliminate the risk of a catastrophic failure that could take the entire system offline for weeks.
While minor surface scratches can be monitored during routine maintenance, a physically cracked solar panel requires immediate replacement to ensure safety, code compliance, and optimal energy production. DIY resins and clear coats offer nothing more than a temporary illusion of security, failing rapidly under standard thermal cycling. The decision to replace hinges entirely on electrical safety, preventing cascading system damage, and matching the exact specifications of the existing array.
To protect your system, take the following actions immediately:
Isolate the damaged panel by shutting down the specific string via rapid shutdown switches or DC disconnects, provided it is safe to do so.
Document the physical damage with clear photographs from multiple angles to support any potential insurance claims.
Locate your original system design documents to identify the exact make, model, and electrical specifications of the compromised hardware.
Contact a certified solar technician to schedule a diagnostic inspection and request a formal replacement quote.
A: No. A cracked panel introduces severe fire risks and ground faults. Moisture ingress destroys internal circuitry, while exposed live wires present lethal shock hazards. Leaving damaged hardware active can also cause cascading failures that destroy bypass diodes and string inverters.
A: No. Epoxies and resins are ineffective against thermal cycling and UV degradation. They possess different thermal expansion rates than glass, causing the seals to break quickly. These materials only serve to temporarily slow deterioration and do not restore structural integrity.
A: Absolutely not. Washing a damaged panel forces water and cleaning agents directly into the internal circuitry. This accelerates electrical failure, causes rapid cell corrosion, and creates immediate, dangerous shock hazards for anyone touching the array.
A: It may still produce power initially, but the output will degrade rapidly. More importantly, operating a cracked panel poses a severe safety hazard. The continuous operation of compromised cells often leads to thermal runaway and electrical arcing.
A: Homeowners insurance typically covers damage caused by sudden, accidental events like hail, windstorms, or falling debris. However, insurance does not cover manufacturer defects or damage resulting from improper installation. Always document the damage immediately for the adjuster.
A: You must match the electrical tolerances via the specification sheet rather than just the brand name. Focus on matching the Maximum Power Current (Imp) and Maximum Power Voltage (Vmp) to ensure the new panel does not bottleneck the existing string.
A: Yes. In a central string inverter setup, a damaged panel can pull down the voltage and current of the entire string. Furthermore, the erratic power flow can permanently burn out bypass diodes and cause excessive wear on the inverter.


